
The User-Centered Design Lifecycle

There’s a good chance you can improve the speed and quality of your digital innovation efforts. It might seem intuitive to get an idea, then dive straight into agile development with a subject-matter expert to see results quickly. However, you can make a better product faster, while de-risking the innovation project, by prioritizing the full user-centered design lifecycle (UCD).
When you have a vision for a new application, the temptation is to engineer based on what you know. Instead, it’s better, and cheaper, to involve users from the start, and validate you’re on track to capturing ROI with three rounds of usability testing throughout the project. If you skip these steps and find that you need a foundational change to your digital solution once engineering has begun, it will explode costs, erode ROI, and possibly kill the project. The UCD lifecycle is designed to catch and fix issues in project phases when they are cheap to resolve. Add strong project management to the mix, and you will consistently deliver user-friendly solutions that capture value.
Here we laid out the fundamentals of the user-centered design lifecycle, and explain why no business can afford to do without it.
Why UCD is Smart Business & Good Project Management
It’s easy for programmers and designers to lose sight of the business case for a project. They want to build something to the specification that works as intended – but linking those ‘must-have’ features with business value, user needs, and usability is not obvious. This is why user interviews, observations and usability testing needs to be baked into the process.
If you fail to account for users’ needs from the start, you’ll need to make changes to accommodate them in the future. These late-stage changes can significantly inflate costs, making it take longer to realize any projected returns on investment.
According to research from NASA, it’s six times more expensive to resolve a problem with an application once it’s reached the design phase. By the time an application is deployed in operations, it can cost up to 1,000 times more than if the same issue was flagged during the requirements definition stage. This is why it is critically important to involve users from the start, and then iterate with prototypes before you code. Nearly everything you can learn about the user experience from code, you can learn from non-coded prototypes and usability tests, and it is 1,000x cheaper.

These additional costs can be avoided, but only by following the right processes.
Stages of the User-Centered Design Lifecycle
The earlier in the design process you can get things right, the more likely a build will stay on budget. This means that designers need to connect the dots between user needs, essential software functions, business value, and estimated costs at an early stage. You can do this by taking the time to plan, and by involving end-users throughout. Doing so makes it easier to improve usability, user satisfaction, and ultimately, adoption rates. See below for a repeatable step-by-step approach.
1. Journey Mapping & Scenario Scoping
Every project should begin with capturing requirements from the people who will regularly use the software. By using interviews and observations to build your journey map, it’s possible to identify the features that will be needed for successful transformation. This includes identifying the processes and technologies a business already uses, and how innovative new solutions can improve daily workflows. By basing new solutions on the current & future state journey maps, it is easy to see where new technology will fit into the business processes of tomorrow.

2. Information Architecture & Navigation
After defining the future state user journey, teams can now translate it into the information architecture for the new digital solutions. The information architecture defines what data will be needed, and where the data will live in the application.
At this stage, designers and developers can now think about arranging information to make it easy for users to navigate through the program, and how it will fit into their daily workflow. Additionally, this is a very tangible phase where engineers can begin thinking about the solution architecture, database structures, and begin thinking about engineering and implementation costs.

3. Usability Testing with Low-Fidelity Prototypes
After defining the features and information architecture, you’re ready to start designing the screens and menus. As a prototype starts to take shape, it’s important to check in with users to ensure that it is meeting their requirements. This need can be met by conducting usability tests which are best applied in three stages. The first of which should be a low-fidelity prototype – or in other words, a largely undeveloped build model that only focuses on key functionalities, not styling. With the solution in a more tangible form, users can give specific and high quality feedback.

During the first stage of usability testing, there should be a free-flowing dialogue between testers and end-users. A goal of this step is to work through various real-world scenarios of how they would use the software in real life and ensure that it has all the necessary functions and features.
By looking at the prototype through the lens of working scenarios, teams can identify if anything else is needed, before code is written. If there are changes needed to the requirements, now is the time to make them because it is cheap and cost-effective to do it at this stage.
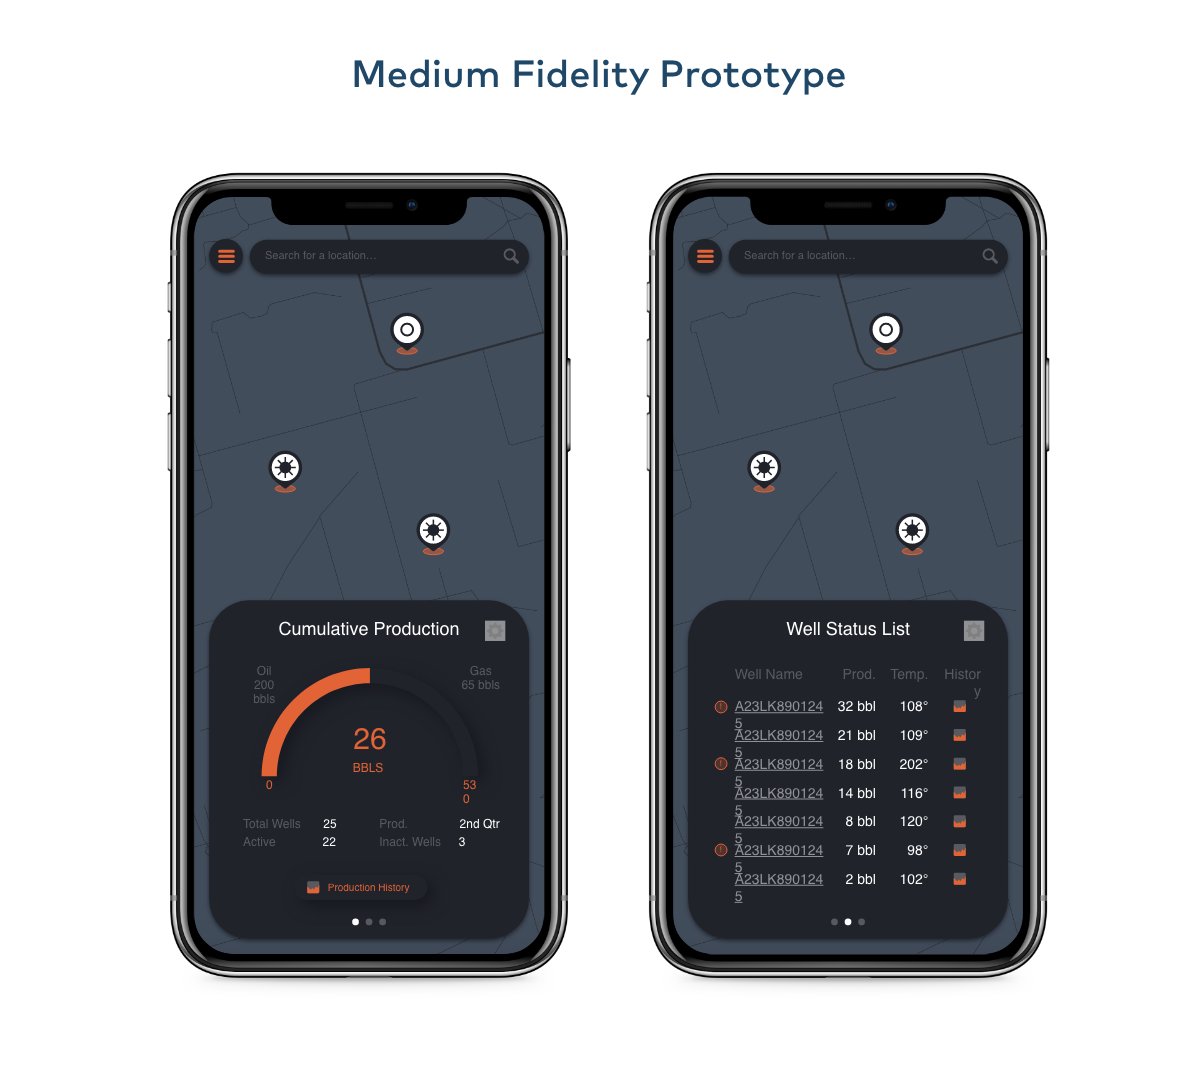
4. Usability Testing with Medium-Fidelity Prototypes
With features, functions and information architecture locked in, the second stage of usability testing uses a prototype with the full design language and styling. It should look like the finished product. The goal here is to validate that the styling and aesthetics do not cause usability issues, and that users are satisfied. If your organization has a good design system, using it will speed up this stage.
Without using code, a medium-fidelity prototype will look, feel, and work just like a real app – with all the flare needed to speak to emotional side of the user experience. This stage of testing checks for user-friendliness. With the most expensive requirements locked in from the proviso step, it is likely any usability issues discovered during this stage will be cosmetic in nature, needing only visual or interaction adjustments. Making these types of adjustments is very cost effective at this stage, these are the kinds of issues you want to be catching here. Furthermore, by testing the design under real-world scenarios, it provides an additional validation point that the features are right to support the future state user journey.
Once happy with the results from this second usability test, engineers can now further and more accurately estimate cost and effort. With this medium fidelity prototype, the visual design and interaction requirements to build the solution can now be scoped. Because it is a tangible prototype there will be less room for communication errors in the estimation. Best of all, we now have a fully vetted, tested, and designed concept, all before writing code. When engineering starts, the odds of needing an expensive requirements change is low because this due diligence.
5. Usability Testing with High-Fidelity Coded Solutions
In the final stage of the UCD lifecycle, a high-fidelity solution can be used with code to check the technical performance of the software under real world scenarios. Unlike previous versions, this solution won’t exist in isolation and can be put into live use within an organization’s network, such as the staging environment. These high-fidelity solution can also be used to run pilot studies.
Users can now test drive the application under real circumstances to check that the product’s performance aligns with their needs. Learnings from this stage will be more related to technical performance, rather than high-risk and expensive feature, menu and information architecture changes. Teams often skip the UCD lifecycle by getting an idea, and then going straight to code to see if it meets user’s needs. This is the most expensive approach to engineering because if you were to find you need to change features and navigation in this late stage, it will be 1,000 times more expensive.
By following this process you’ll avoid these expensive UX changes, and will more likely only need technical tweaks. This is exactly where you want to be. You don’t want to have deployed the solution in operations and then find that you have serious user experience issues. These will be very costly changes at this stage, and could kill the ROI or project.

Save Time and Money with User-Centered Design
Because the UCD lifecycle is structured around end users, it is a formula for consistently delivering solutions with great UX that meets user needs. Following this process will help you plan projects more effectively, and prevent costly mistakes.
It’s a versatile process that can yield consistently high-quality results, while lowering risk exposure – but only when executed by a skilled team. With such benefits, user-centered design is a no-brainer, yet it is often used only partially, or incorrectly, because many people still don’t understand it, despite the industry’s increased awareness of design thinking.
Through guidance and training, Daito helps clients to understand the process and follow it successfully. With extensive experience in embracing the lifecycle, we can take software from interviews to medium and high-fidelity solutions in weeks.
With our help, you can too.